The grouting process in ceramic toilet manufacturing typically involves filling the gaps or joints between ceramic components with a specialized grout material. This process helps to enhance the structural integrity, aesthetics, and water-tightness of the toilet. Here’s a detailed explanation of the grouting process for ceramic toilets:
1. Preparation: Before the grouting process, the ceramic toilet components, such as the base, tank, and bowl, are manufactured separately. These components are cleaned and prepared to ensure they are free from dust, debris, and any contaminants that could affect the grouting process.
2. Grout Material Selection: A suitable grout material is chosen based on the specific requirements of the ceramic toilet. The grout should be compatible with the ceramic material, have good adhesion properties, and be resistant to water, chemicals, and discoloration. The color of the grout is also chosen to match or complement the color of the ceramic components.
3. Mixing: The grout material is mixed according to the manufacturer’s instructions. Typically, the grout powder is combined with water or a liquid additive to achieve the desired consistency. It is important to follow the recommended mixing ratios to ensure the grout has the right properties for application.
4. Application: The mixed grout is applied to the joints and gaps between the ceramic components using a grout applicator. This can be done manually with a grout float or through the use of specialized grouting tools or machines. The grout is carefully spread and pressed into the joints to ensure complete coverage and proper bonding.
5. Smoothing and Cleaning: After the grout is applied, excess grout on the surface of the ceramic components is wiped away using a damp sponge or cloth. The grout lines are smoothed and leveled to achieve a neat and uniform appearance. It is important to clean the ceramic surfaces thoroughly to remove any grout haze or residue before it dries.
6. Curing and Drying: The grout requires a specific curing time to set and harden. This duration varies depending on the type of grout used and environmental conditions. It is crucial to allow sufficient time for the grout to dry and cure properly before subjecting the ceramic toilet to any stress or use.
7. Finishing Touches: Once the grout has fully cured, any remaining traces of grout haze or residue are removed from the ceramic surfaces using a grout haze remover or a gentle abrasive cleaner. The ceramic toilet is inspected for quality, and any necessary touch-ups or adjustments are made to ensure a seamless and visually appealing finish.
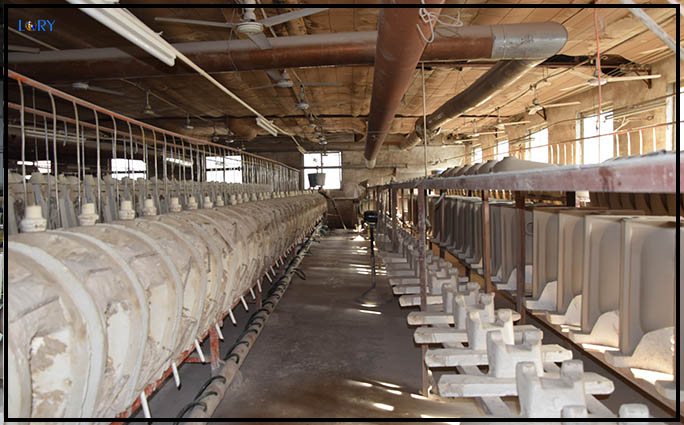
It should be noted that the grouting process of ceramic toilets may vary due to the specific manufacturing process, equipment and materials used by different manufacturers. The above steps provide a general overview of the grouting process in the LORY ceramic sanitary ware factory, and can be adjusted or modified according to individual manufacturing customization requirements and practices. If you want to know more about the engineering of the sanitary ware grouting process, you are welcome to visit the factory at any time .
